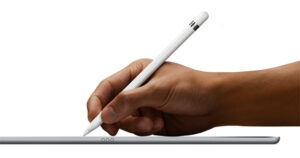
This weekend I received my Apple Pencil, and the first thing I did was get my iPad Pro and pair it with the Apple Pencil. The process is very simple and will take less than a minute. Here is how you pair the two devices.
Pairing the Apple Pencil
The Apple Pencil has a magnetic cap on the end opposite the nib. You will feel a metal ring, and the cap will be above that ring. Simply pull the cap off the back of the pencil and you will see a Lightning connector. You can pair your Pencil by either plugging that lightning connector into the iPad Pro and have it stick out the bottom of your iPad, or by using the adapter that comes with the pencil. This will allow you to plug a lightning cable into the pencil, and then into the iPad. This will make sure you don’t hit the pencil breaking the lightning connector on it. This would be the best for charging, but to pair it is just simple to plug the pencil right into the iPad for a few seconds.
Once you plug the Pencil into the iPad Pro, you just have to wait until a pairing dialog appears. Once it does, double tap on the pair button to pair your Apple Pencil, and you will be ready to write in the Notes app or other apps that work with the device. When the battery gets low on the pencil, the iPad will tell you to charge the pencil by using a method mentioned above.
We will soon have an article here on iAccessibility’s website discussing how to do more with the Apple Pencil with VoiceOver, so keep checking back to learn more about this amazing device. We will discuss how to use it with drawing apps, and how to navigate the iPad Pro with the Apple Pencil.
