How To Prevent Attacks and be a Good Internet Citizen

A map showing that much of Friday's Internet outage was over the US.

On Friday October 20, 2016, much of the popular websites of the internet went down thanks to an attack that used millions of Internet of Things devices to hit servers that kept internet websites going. Internet of Things devices are common devices that we keep in our homes, and can include TVs, lightbulbs, DVRs, routers, and even refrigerators. Many Internet of Things devices have a security hole in their software that lets hackers gain control of these devices and use them to harm other websites and services on the net. The good news is that there is a way that you can close this hole and make it where the attacker can’t gain access to your devices, and your home can’t be used as a tool for these activities. While we directly aren’t the attacker, we still must take efforts to make the internet a better place, and be good citizens of the net.

Block the Attack

The best way to make sure that you do not contribute to the problem is to make sure your equipment is not open to others to login. If this your router is open then a hacker can login and find your equipment and use it to send data to another website. This is called a Distributed Denial of Service attack also known as DDoS. The targeted website gets so much traffic that their site and services are forced to shut down, and it is our devices that they see that are causing the issue, and the hacker gets away without anyone knowing who they are.

The process of fixing this issue differs for each router, but the best thing to do is either get help from a trained network professional or to do the following steps yourself.

  1. Go to Google
  2. Search for, “Disabling port 22 on (Your router name here)”
  3. Complete the requested steps, and also change the user name and password for your router to something other than admin and password

These basic steps will go a long way in protecting your network from unauthorized access, and it will help keep hackers from taking down their targets, because the tools they use will not be available to them.

To learn more about this attack, visit Gizmodo – This is why half the internet shut down today

Online Training: A New Service from iAccessibility

iAccessibility Logo

iAccessibility is proud to announce that we are now offering online training for those looking to increase their technology knowledge.

Our trainers can teach students in many different areas of technology, from iOS to Windows and even  the Mac.

Our training pricing is $18 per hour, and we use Skype for trainers to reach their students.

Please fill out our sign up form if you are interested in our new and exciting training program.

Traveling Made Easy with Tile

Picture of Tile device. Device is a white square with rounded corners with the word Tile in a light grey. It also has a round hole in a corner for a key ring.

Have you ever traveled to a destination and had difficulty finding your luggage? Tile, a new device with a mobile app aims to fix this issue is now available, but is this solution accessible? Lets take a look at the app and the devices themselves.

Picture of Tile device. Device is a white square with rounded corners with the word Tile in a light grey. It also has a round hole in a corner for a key ring.•What is a Tile?

A Tile is a small device that is sure. It has the word Tile on the device, and the e is a button to press to find your phone or pair the device with your phone. There is no tactile way of knowing where this button is, so I simply pressed on the device until I found it since it is very small.

There is also a round hole in the device to add the device to your key ring so you could use it to find your keys, or attach the device to another object.

The Tile does not have a place to charge the device, so when the device runs out of battery power then it is dead. Tiles use Bluetooth LE, which stands for low energy to be found only when called upon. They use very low amounts of energy, so the battery should last for years.

Any device running the Tile app that supports Bluetooth LE is also a Tile. You can find your iPhone or iPad that is paired to a tile by pressing the e on the Tile device.

The Tile App

The Tile app is how you set up your tile devices with your phone. To use this app, Bluetooth must be on, and you must have a connection to the Internet.

Once you start the app you will need to sign up or sign in. I did not do this portion of the review with VoiceOver, so if someone could add their experience with signup in the comments then we will have a better understanding of this part of the app.

After you sign up, you will be asked to buy a Tile or Pair one. We will assume that you already have a Tile and are going to pair it with your phone or tablet. To pair your Tile to your phone, do the following steps when you are at the correct place in setup.

  1. Hold the pairing button on the Tile, which is the letter e button until it plays a note or tune.
  2. Keep the device near your phone until the phone states that it is paired.
  3. When prompted, type the name of the Tile that describes what the Tile will be used for, examples are keys, luggage, or backpacks.

While text is readable on the add screen, the buttons are not properly labeled and can be confusing.

Once a Tile is set up, you should see all of your tiles in a table view. At the time of this writing, the table view only shows button labels, and the labels that you give to your tiles during the adding process are not read by VoiceOver. You will also notice that no labels in the detail screens are read either, which makes the Tile service completely unusable to VoiceOver users. Buttons and text elements can gain focus by VoiceOver, but only the button and text label names are read instead of their contents.

Conclusion

While the Tile devices are a good way to find luggage and items that you can’t easily find, they do not offer a good experience at this time for VoiceOver users, and the lack of a tactile pairing button on the actual Tile make it difficult for visually impaired and blind users to even pair their devices to their phones.

#iACast 18 – UnboxCast Part 2

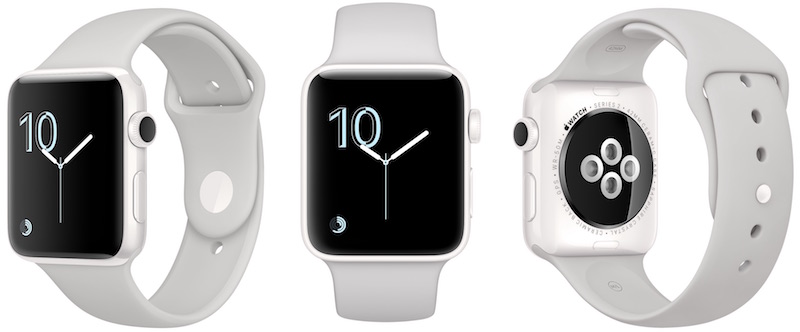
image showing three views of the same Apple Watch Series 2

On this episode of the iA Cast, Rich Cavallaro unboxes his new iPhone 7 Plus, and Michael Doise unboxes the new Apple Watch series 2. We set up these devices, and we take a look at the differences between load times on the Apple Watch series 2 compared to the original Apple Watch commonly known as the series 0 version.

#iACast 17 – UnboxCast Part 1

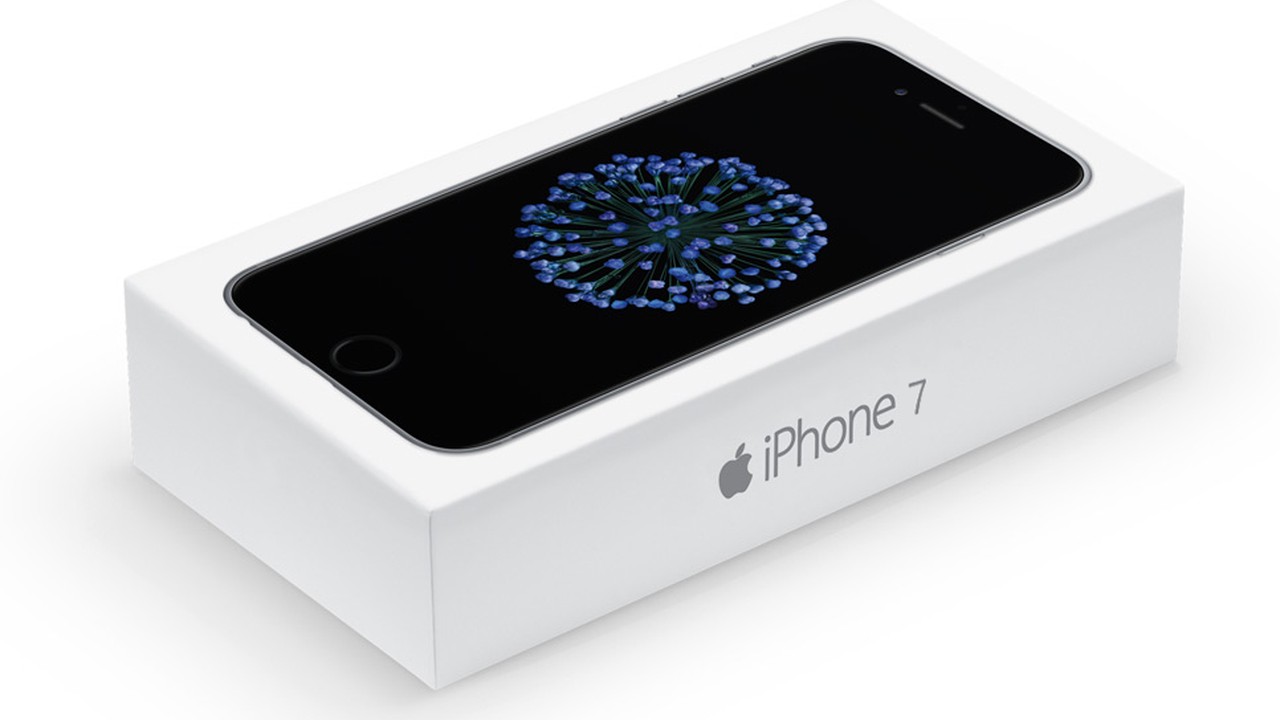
Picture showing iPhone 7 box with black iPhone picture on top

On this episode of iA Cast, Daniel Miller and Jessica Smith unbox their new iPhone 7 Plus phones and we discuss the latest news over the weekend. Here is what was discussed.

  1. Latest information on the Samsung Galaxy Note 7 recall
  2. We discuss the latest news of HissGate and what it is.
  3. We discuss the latest version of macOS Sierra.
  4. Then Daniel and Jessica unbox their new shiny iPhones and discuss what they like and don’t like about their devices.

Contributors this episode are:

  • Michael Doise
  • Daniel Miller
  • Jessica Smith
  • Ashley Coleman

#iACast 16 – AirBoom

Image of Apple Airpods sitting on top of Rose Gold iPhone 7

On this episode of iA Cast, we cover the following topics.

  1. iOS 10 has been released. Apple iOS 10
  2. iPhone 7 and 7 Plus announced.
  3. Apple Watch Series 2 announced. Apple Watch Series 2
  4. Pokemon Go announced for Apple Watch.
  5. Apple Announces AirPods bluetooth earphones. Apple AirPods
  6. Samsung Galaxy Note 7 recalled due to safety issues. Galaxy Note 7 Recall

Show contributors on this episode are:

  • Michael Doise
  • Jessica Smith
  • Matt Dierckens
  • Jason Earls
  • Chad Blanco
  • Daniel Miller
  • Rich Cavallaro
  • Ashley Coleman

iA Cast Copyright 2016 iAccessibility and Michael Doise

Quick Tip: Enable Night Mode in the iOS Twitter App

Image of Twitter logo for iOS.

Image showing Twitter for iOS Night ModeTwitter for iOS has updated their app with a feature called Night Mode that changes the app’s color scheme to allow for higher contrast text. This feature allows for users to read tweets easier by showing text on a dark background with light colored text. Here is how to enable this feature.

  1. Open the Twitter app
  2. Find the Me tap at the bottom right portion of your screen
  3. Find the Settings button
  4. Select the first choice for Settings
  5. Find an option that says Display and Sounds
  6. Find the switch for enable Night Mode.

Turning on this feature will instantly switch your device to Night mode.

Night Mode is a great new feature that adds high contrast to your Twitter experience. You will still see pictures correctly because the app adds high contrast without reversing the video like the built in high contrast feature does.

Adding Links in Notes

Picture of macOS Notes icon showing a note pad with lines

Apple’s latest release of its Macintosh operating system, macOS 10.12 Sierra lets users add links to websites into the notes app, which contain the site’s icon, and a brief description of the site. This is a great new feature, but it doesn’t always show up, and here is why.

Manually adding links

If you manually add a link by typing a web address in the notes app, the address will turn to a hyperlink, but it won’t show a preview of the site. It is not clear why Apple didn’t make this happen, but that is how the notes app behaves.

Adding links to notes through Safari

Safari allows you to add a website to your notes, and you will see the preview of that website if you use this method. Here is how to accomplish this.

  1. In Safari, go to the website or web address you would like to use in a note.
  2. Find the Share button in the toolbar.
  3. Pick the Notes option from the Menu.
  4. Add any text that you want to go with the website.
  5. Pick the note that you want to embed this site in. You can also select New Note, which is there by default.

Conclusion

While there are many ways to add links in the Notes app, this method allows you to add a link preview into your note. Please comment and let us know if you have found another way to add links with page previews in the comments section, and we hope that you add our page as a link with a preview to your notes, or at least your favorites.

How to access Siri on the Mac

icon showing iOS 10 and macOS icon for Siri

Apple has introduced its latest release of its operating system for the Mac called macOS X 10.12 Sierra. Apple has added its snarky digital assistant to this release of the operating system, and there are some easy ways to access Siri while on the Mac. We will discuss three of these here.

From the Dock

By default, Siri is an icon in your dock, so you can navigate to the dock and activate Siri. This method works, but it takes you out of your task to work with Siri.

From the Menu Extras

By default, Siri will appear in the menu extras area of your Mac. You can navigate to Siri near Notification Center and activate it there. You will still have to leave your current task to use Siri in this way.

Siri from the keyboard

Yes you did read this correctly, you can use Siri for the Mac by pressing a keystroke on the keyboard. A keystroke is where you use multiple keys to accomplish a task. Activating Siri from the keyboard is off by default, so here is how to enable this feature and set a keystroke.

  1. Open System Preferences
  2. Navigate to Siri in System Preferences
  3. Find the option of Keyboard shortcut and select the option you like

Please note that the first option in the list is Command + Space which is used for Spotlight. I personally use Fn (Function) + Space because the function key is also used for dictation.

Conclusion

Using Siri on the Mac with the keyboard is one of the best ways to use Siri. Once you are done with Siri, you are returned to the window you were last using if you press escape to exit the Siri window. I commonly ask Siri questions while playing Minecraft, and this process does not interrupt my gameplay in the slightest.

Hiding Stock apps in #iOS10

image showing Removable app icon for Weather in iOS

Image showing many of the apps that can be removed that are stock apps.iOS 10 adds the ability to hide certain stock apps from view. This will remove the app from your home screen, but will not delete the app from your phone. Many of these apps are very small, so they should not take up much space on your device. If you do decide to hide an app, then iOS will also remove that app’s hooks from the system, so if you remove FaceTime, Siri can’t place FaceTime calls. You can still place FaceTime calls by selecting that option from your contacts app.

Hiding stock apps in iOS 10

To hide a stock app in iOS 10, simply use the process you would normally use to delete any other app you have purchased from the App Store. There are apps that are not removable, so these will always be on your device’s home screen.

Stock apps that can be hidden

  • Music
  • Mail
  • Calendar
  • Maps
  • Weather
  • Stocks
  • News
  • Notes
  • Reminders
  • Videos
  • iBooks
  • iTunes Store
  • Home
  • FaceTime
  • Calculator
  • Podcasts
  • Watch
  • Compass
  • Tips
  • Contacts
  • Voice Memos
  • Find My Friends

Many of these can be removed to make way for you to use your own solution, an example of this would be to hide the Mail app and use Microsoft Outlook

Restoring Stock Apps

image showing the weather app in the iOS App StoreYou can restore apps back to your device by searching for them in the App Store. The App Store will contain a full app page for each app that is on your device.

Quick Tip: Want to know who’s calling without looking at your phone?

iPhone phone icon showing a white phone handset on a green gradient background.

iOS 10 adds a new feature to the iPhone that lets you know who is calling. When this feature is turned on, iOS will speak the name of the person who is calling. The feature will not read phone numbers at this time, but will read names that are in your contacts list.

Enable Announce Calls

  1. Open the Settings app
  2. Open Phone settings
  3. Find the Announce calls option
  4. Select between Always, Headphones and Car, Headphones Only, or never

This is a great feature if you would like to hear who is calling you. When your phone is muted calls will not be announced. If VoiceOver is on, VoiceOver will read who is calling in most circumstances.

Back to Top