Home / Blog / Tips

Quick Tip: Enable widgets on your iPadOS Home Screen

iOS 13 logo

Android users have had the ability to use widgets on the home screen since there has been Android phones, but iOS users have had to go to a separate place to use the same functionality. In iOS or as its now called, iPadOS 13, widgets can coexist with your home screen. Here’s how to turn it on.

  1. While on your home screen turn your iPad to landscape view.
  2. Flick right with one finger or with three fingers if you are using VoiceOver.
  3. Once your Today view appears, find the first widget in the list. You will find that it is a prompt to add today view to your home screen.
  4. Tap the Add to home screen button

Please note that this will only add widgets to your first home screen page, and only while you are in landscape mode. You will be able to move in your widgets over your home screen in portrait, but they will only sit on your first home screen in landscape.

While this isn’t exactly what users would want in having widgets on each home screen, this is a start, and it can only get better in future iPadOS versions. What widgets do you use on your iPad? Let us know in the comments, or on twitter by tweeting @iaccessibility1 or by emailing feedback@iaccessibility.net.

Quick Tip: How to Share Shortcuts in #iOS13

Shortcuts app icon

We are still in the beta season for iOS and iPadOS, but anyone can try the new features offered by Apple by signing up for the public betas. One of the many changes that Apple has made is that Shortcuts are now built in to the OS. This allows deeper integration with features, but it also means that Apple has made changes to allow Shortcuts to be more secure. You might notice that the share button is disabled and that is because Apple does not allow the sharing or opening of untrusted shortcuts by default. Fortunately, you can still turn this feature back on. Here is how this is done.

Enabling Untrusted Shortcuts

  1. Open the Settings app and tap on Shortcuts
  2. Turn on, “Use Untrusted Shortcuts”
  3. Return to the Shortcuts app
  4. find a shortcut and go to more details.
  5. Find the share button at the bottom of the screen next to the run shortcut button

That’s it! you can now share and open shortcuts. that you make, or that you get from online sources. Turning this on will also allow you to install shortcuts that can compromise the security of your device, so it is important to know what shortcuts you are installing, and check the actions that are in the shortcut so that you do not open your phone up to malware or unauthorized access.

Quick Tip: Get Custom Alerts From Google Alerts

Google Logo with Alerts in blue under the word Google

Ever wanted to know if something gets posted on the web about you or an interest that you follow? Google has a service called Google alerts to help with that.

How does it work

Google Alerts is a service that lets you sign up for email alerts for many popular topics. They also have a search box that lets you add custom alerts, so you can add your name or any other topic to email alerts.

When you opt in for alerts, you will receive an alert whenever Google finds that a page was added to their index with your keyword.

How to set up alerts

Here is how to set up a custom alert.

  1. Go to http://google.com/alerts
  2. Pick popular alerts that you would like to follow
  3. Find the search box and type the custom alert you would like to add. An example would be your name.
  4. You can also select the Show Options button to make more precise changes like how often you receive alerts and how you receive the alert. You can select your Google email address or you can make an RSS feed to put on your website or in an app.
  5. Once you are done, select Add Alert

You will need a Google account to use this feature but Google Alerts is a great feature from Google if you are a new business or a person wanting to get the news for research.

Quick Tip: Enable Bash Shell in Windows 10

A picture of the Windows Logo

Windows has made huge advancements in innovation since the release of Windows 10, and this continues with the Anniversary update. A great feature that was added with this update was the ability to install the Bash Shell to use with Windows instead of the standard Windows command prompt.

The Bash Shell is a common command line interface for users to complete tasks on Linux. It is completely text based, and it offers color coding of folders and files. Tasks are completed by typing in commands instead of using the mouse to find and activate items.

Setting up Bash on Windows 10

  1. Open the Settings app
  2. Find Updates and Security
  3. Find the option that says, “For Developers.”
  4. Enable Developer Mode
  5. You can now close settings
  6. Open Control Panel
  7. Navigate to programs
  8. Activate Turn Windows Features On or Off
  9. Find the check box that says, “Enable Windows Subsystem for Linux.”
  10. Activate OK
  11. When prompted, restart your PC
  12. Once your computer has restarted, Open the command line from the Start Menu, or by typing cmd in the search and press enter.
  13. Once the command line is open, type the word bash and press enter.
  14. Windows will ask you if you would like to install Bash and all you need to do is press y and enter.

The final process will take some time to complete, but will have bash ready to go on your PC once it does.

Quick Tip: Initiate Speakerphone Calls Using Siri

icon showing iOS 10 and macOS icon for Siri

It is now possible to tell Siri to have your calls placed through speakerphone. Just ask Siri. You can ask something like “Hey Siri. Call Mom on speakerphone.” That’s it. Your call should now come through the speaker instead of your iPhone earpiece. It’s great if you need to make a call hands-free and you don’t have a Bluetooth or wired headset handy. Try it out, and let us know what you think. Do you find this feature useful?

Quick Tip: How To Enable VoiceOver Using The Touch Bar

image of MacBook Pro 2016 from iMore.com

The MacBook Pro’s new Touch Bar has changed the way users interact with their Macs. The Touch bar removes the traditional row of function keys for a customizable touch bar that can have different options based on which app is active. While this changes the way we use the Mac it still allows for VoiceOver users to still be productive users of the MacBook Pro. While the function keys are changed on this machine, you can still enable VoiceOver with a similar method to the iPhone. Here is how it works.

Enable/Disable VoiceOver with Touch ID

  1. Hold the Command Key
  2. While holding Command, tap the Touch ID sensor or the Power button three times

This method is a very simple way to enable and disable VoiceOver on the Mac which closely resembles how iPhone and iPad users enable and disable accessibility features.

Quick Tip: Disable iMessage Image Search in #iOS10

Image showing iMessage Sticker Packs, and iMessage apps.

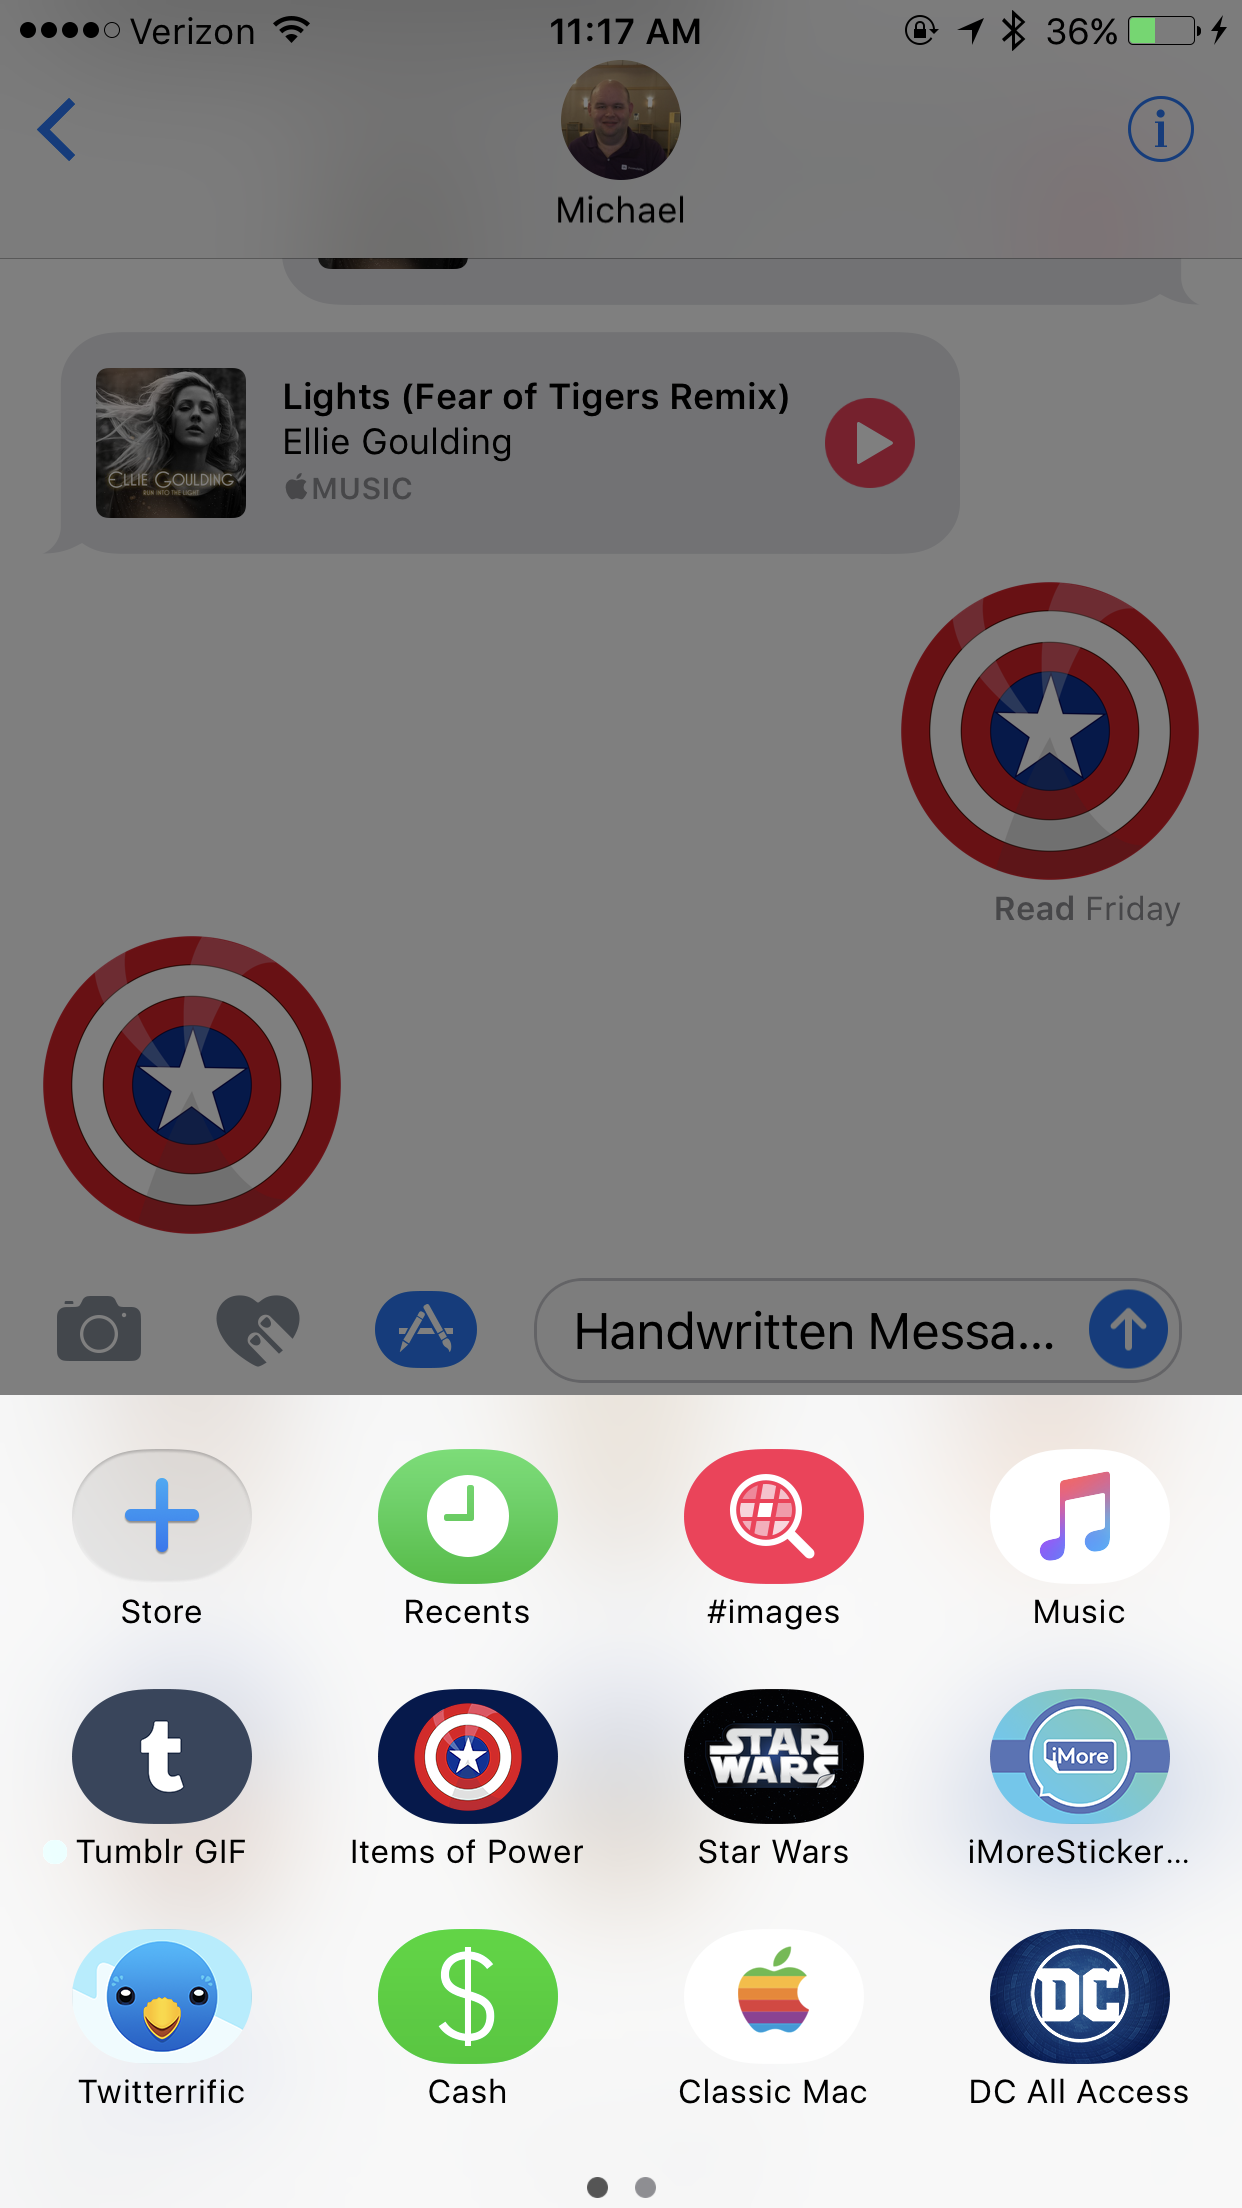
In hopes of making conversations more interactive and personal, Apple added many new features to iMessage in iOS 10. One such feature, the ability to search for images, may not be suitable for all users. Although Apple constantly filters results, there is a chance that inappropriate images may come up in a search. So, how does a parent, for example, protect their children from such images? It turns out that the process of disabling this feature is not complicated at all; we will show you how below.

Note: Although this guide refers to disabling Image Search, it also applies to enabling or disabling any iMessage app.

To disable iMessage Image Search:

  1. In the Messages app, tap on a conversation thread.
  2. If the keyboard is shown, tap the “Show More” button directly to the left of the edit field.
  3. Tap the “Messaging Apps” button directly to the left of the edit field.
  4. If it is not already shown, tap the “App Browser” button in the bottom left corner of your screen.
  5. Tap the “Store” button.
  6. There will be three tabs across the top of your screen. Tap the third one, which is “Manage.”
  7. Tap the switch next to “#images” to toggle it off.
  8. Tap “Done” in the top right of your screen to return to the app browser.

That’s it! We hope this tip helps give you some peace of mind when using iMessage in iOS 10, or if nothing else, to declutter your iMessage app browser. Enjoy!

Quick Tip: Share Apps From the Home Screen

Image showing VO Change app icon with Share 3D Touch Item.

Have you ever wished there was a faster and easier way to share apps with your friends without going to the app store and searching for it? iOS 10 brings you the ability of sharing apps with your friends directly from the home screen.

Here is how it’s done.

  1. Find the app you want to share and 3D touch on it.
  2. Tap the share app button at the end of the list.
  3. The share sheet will appear and you will be able to choose the option you want.

This is a much faster way to share apps. You wont have to spend time looking around in the app store looking for an app you want to share. For people that have phones without 3D touch, or have 3D touch turned off, you will have to go to the app store to share apps.

This feature is only available to devices that support 3D Touch, so you will only have access to this on newer iPhones running iOS 10.

Quick Tip: Enable Night Mode in the iOS Twitter App

Image of Twitter logo for iOS.

Image showing Twitter for iOS Night ModeTwitter for iOS has updated their app with a feature called Night Mode that changes the app’s color scheme to allow for higher contrast text. This feature allows for users to read tweets easier by showing text on a dark background with light colored text. Here is how to enable this feature.

  1. Open the Twitter app
  2. Find the Me tap at the bottom right portion of your screen
  3. Find the Settings button
  4. Select the first choice for Settings
  5. Find an option that says Display and Sounds
  6. Find the switch for enable Night Mode.

Turning on this feature will instantly switch your device to Night mode.

Night Mode is a great new feature that adds high contrast to your Twitter experience. You will still see pictures correctly because the app adds high contrast without reversing the video like the built in high contrast feature does.

Quick Tip: Want to know who’s calling without looking at your phone?

iPhone phone icon showing a white phone handset on a green gradient background.

iOS 10 adds a new feature to the iPhone that lets you know who is calling. When this feature is turned on, iOS will speak the name of the person who is calling. The feature will not read phone numbers at this time, but will read names that are in your contacts list.

Enable Announce Calls

  1. Open the Settings app
  2. Open Phone settings
  3. Find the Announce calls option
  4. Select between Always, Headphones and Car, Headphones Only, or never

This is a great feature if you would like to hear who is calling you. When your phone is muted calls will not be announced. If VoiceOver is on, VoiceOver will read who is calling in most circumstances.

Quick Tip: Bypass iOS Wi-Fi requirement

Personal Hotspot icon

There are some occasions where you might want to download something on your iOS device but you are told that you must have a Wi-Fi connection. Here is how you can get around this obstacle. Just remember though that this will take up your data plan but if you are wanting to try this then you probably realize this. Here is what you will need to do this.

Requirements

  1. You need an iPhone that has the personal Hotspot feature enabled
  2. A Mac running a newer version of OS X or Mac OS.
  3. A Lightning Cable

Instructions

To use your iPhone to download items that require Wi-Fi, do the following.

  1. make sure Bluetooth and Wi-Fi are turned off.
  2. Connect your Phone to your Mac using a lightning cable.
  3. Turn Personal Hotspot on and select USB Only
  4. In yourMac’s menu bar, turn Wi-Fi off.
  5. You may need to go to Network settings under System Preferences and enable iPhone USB.
  6. Go to System Preferences and then to Sharing.
  7. Select the iPhone USB in Source, and Wi-Fi under, “to computers with.”
  8. Find the checkbook under the sharing table and check share Internet connection to start the connection.
  9. You can now connect to your Mac with your iPhone over Wi-Fi and it will think it is getting Internet from your Mac.

This is a great process for using your phone with your Mac to download any content that would require a Wi-Fi connection. You can also do this with a Windows PC if you create an Ad Hoc connection as well.

Quick Tip: Using Safari as an RSS Reader

Subscriptions screen in iOS

Safari is Apple’s Web browser for iOS and Mac OS, but did you know that it could also be used as a RSS reader? RSS stands for Rich Site Summary, and it is used in creating content that users can subscribe to like blogs. The iAccessibility Report is one such blog that uses RSS. For this tip, we will use the home page of accessibility.net and you will be subscribed to our feed by the time we are done.

Using Safari as an RSS Feed reader

For this tip, we will use accessibility.net as the website, and we will assume that you are on an iPhone. You will find that this process is very similar to the iPhone on iPad and the Mac because Apple builds all of their software to behave very similarly no matter what device you run it on.

To get started, find the show bookmarks button at the bottom of Safari. Tap or double tap here, and you will have a heading for your bookmarks. If you flick right several times you will hear an option for Social Links. This is where you double tap. This section is labeled as such because you can see all of the links that are shared on your connected social accounts, but you can also see all links in the pages you subscribe to. To edit your connected accounts and your feeds that you are subscribed to, flick until you hear Subscriptions and double tap. This is the button at the bottom right of the screen, and it will be after all of the items in your social links, so dragging your finger to the button may be faster. Once you have double tapped on Subscriptions, you may want to find the switches for your connected accounts and disable these as these will clutter your social links

To add accessibility.net to your list of subscriptions, move your focus to the bottom right of the screen and you will hear an option called Add Current site. Double tap on this to add the site to your subscriptions. This will work on any website that allows for RSS. If the site you are on does not support subscriptions then this button will be dimmed. Once you have added the feed to your site then you will see that the Add current site button will be dimmed.

While on the Subscriptions screen you can delete subscriptions by flicking right or left to the undesired subscription and then by flicking up or down until you hear Delete and then double tap.

Conclusion

Safari is a very powerful web browser, and the social links tab under bookmarks allows Safari to be a fairly powerful RSS feed reader without needing to download an app for this purpose.

Back to Top