#iACast 26 – Dial It Up

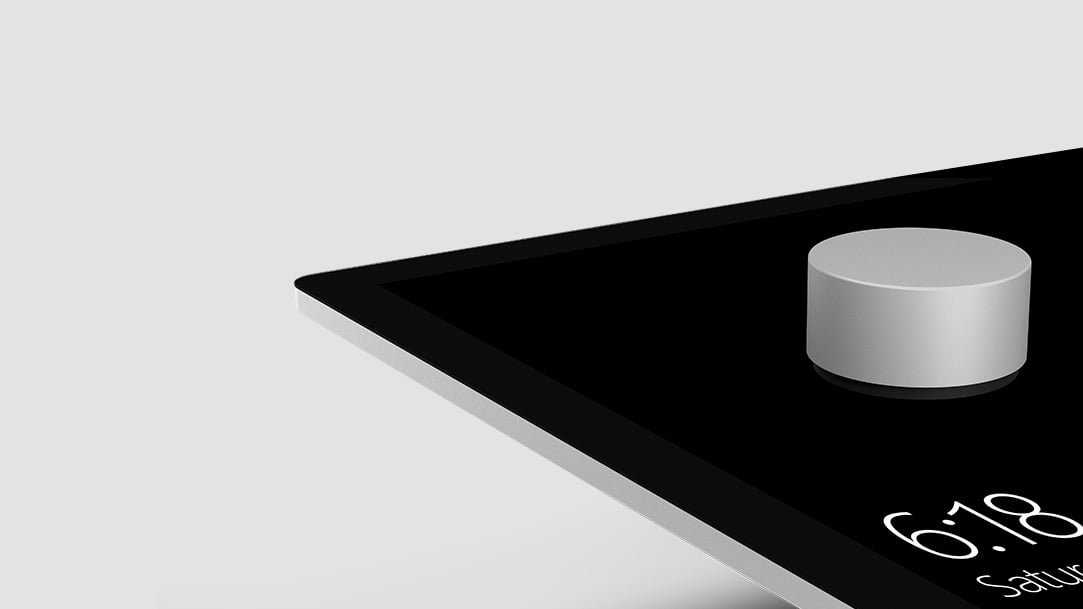
Image of Surface Dial on top of a touch screen displaying the time.

Welcome to episode 26 of the #IACast! This episode was recorded on November 9, 2016. Listen to this podcast to hear Michael, Jessica, Daniel, and Jason discuss the following topics:

  • Accessible VotingAre you over 18 and a United States citizen? If so, we hope you voted in this year’s election. If you did not, because you were afraid of accessibility issues, we have great news for you! Several of us voted, and we have a lot of information for you about what you can expect when voting.
  • Microsoft Surface Studio and 2016 Apple MacBook Pro First ImpressionsMichael recently made his way to the Microsoft store and the Apple Store – check out what he thought of the Surface Studio, Surface Dial, and the MacBook Pro.
  • Google Home Now AvailableThose of us on the podcast this week have not yet seen the recently released Google Home, but someone on the iAccessibility team has! We cannot wait to bring you more information about the Google Home, but here’s what we’ve heard about the device so far.
  • Slack AccessibilitySlack is a service used to communicate with groups of people, in what are called teams. You may need to use this app if you join an organization, beta test, or even work for some companies. Recently, the iOS app was updated to work much better with VoiceOver. We are really happy about this!

As always, if you enjoyed this podcast, please share it with friends! Also, you can reach us on social media, or email us with feedback! Thank you for listening!

#iACast 25 – Fruit or Flop?

Apple invite for its Hello Again event.

We apologize for the delay in uploading the podcast, but we hope you will enjoy hearing our coverage of the recent Microsoft and Apple Events. The Microsoft Event took place on Wednesday, October 26, and the Apple Event took place on Thursday, October 27.

For information about what was released at Microsoft’s Windows 10 Event, check out this link from BGR.

Microsoft Event October 2016: Announcement recap – everything unveiled

For detailed coverage of the Apple event, check out this great page from MacRumors.

Apple Shares Full Video of Today’s MacBook Pro Event [Update: iTunes Version Available]

At iAccessibility, we have some useful posts about using the Touch Bar on the new MacBook Pro as low vision or blind users.

VoiceOver at the Bar

Zooming in on the Touch Bar

As always, thank you for listening! If you enjoy our podcast, please share it with others and rate us in your podcast app. For feedback and suggestions, please email feedback@iaccessibility.net

First Look: 13 Inch 2016 MacBook Pro without Touch Bar

image of MacBook Pro 2016 from iMore.com

Last week I had the chance to check out the 2016 MacBook Pro that is 13 inch without the new Touch Bar, and my thoughts on this machine are mixed. Here is what I observed.

Chasis

The 2016 MacBook Pros come in what feels like a new type of anodized aluminum unibody case. This case does feel stronger and more smooth than other models, and the Space Gray does look nice for a MacBook Pro.

Display

The new display on the MacBook Pro  is noticeably brighter, and thinner. It is so think that they removed the backlit Apple Logo to make the display thinner, which is not my favorite decision as the light up Apple logo is iconic to Apple’s product line.

Trackpad

The new trackpad on the 2016 MacBook Pro is considerably bigger than previous models. This allows for the user to have more working area to use for the ouse. One thing I noticed is that this makes there be less of a hand rest for proper typing, so one could not easily rest their hands on the MacBook without accidentally moving the mouse if a finger or palm hit the trackpad.

Keyboard

Apple has changed their laptop lines to use a new keyboard that uses better key design and prevents typical keys from breaking. These keys are flatter, and do not have as much key travel as previous keyboards. If you are familiar with the 12 inch MacBook then you will be familiar with this keyboard. I personally do not like the amount of travel the keys have, so I find it difficult to type on this keyboard. The keys do have slightly more travel then the MacBook, but they still do not have the amount of travel that comes on the 2015 MacBook Pro, which can be an issue for some. Many are able to adapt to these keys but many including myself prefer the previous keyboard style.

Ports

The 13 inch MacBook Pro without the Touch Bar comes with 2 USB-C/Thunderbolt 3 ports on the left side, and a headphone jack on the right. These ports are incredibly fast and powerful, but they are actually difficult to feel on the side of the machine to line up the device you are plugging in. This allows the machine to be thinner, but this may be an issue for users with low feeling in the fingers. With this model of the Pro, we also see the removal of the MagSafe charging port. On this model of the computer, one charges the machine by plugging the charger into any of the new USB-C ports. This now adds the risk of tripping over cables and pulling your computer off of whatever surface it is resting on.

Conclusion

The 2016 MacBook Pro strives to take us into the future with new display, keyboard, and connectivity technologies, but to do so, Apple has had to make sacrifices that remove features that users are used to having like standard USB ports, and a keyboard with more travel. In a few years we will not notice these changes and we will just accept them as standards, but until then it will be a rocky transition with a lot of cables hanging off of our MacBooks.

Zooming in on the Touch Bar

image of MacBook Pro 2016 from iMore.com

We’ve already talked about how VoiceOver works with the Touch Bar on the new MacBooks, but what about low vision users? How could Apple possibly make items on such a tiny screen usable by the visually impaired? It’s called Touch Bar Zoom, and we’re going to tell you all about it.

What’s Touch Bar Zoom?

Much like Zoom on the Mac, Apple TV, iPad, iPhone, and Apple Watch, Touch Bar Zoom magnifies elements, making them easily accessible to everyone. Since the Touch Bar is small, Apple opted to show a zoomed version on screen whenever it’s needed. Once the user has selected an option, the icons disappear from screen.

How to Enable or Disable Touch Bar Zoom

  1. Click the Apple logo in the menu bar.
  2. Click “System Preferences.”
  3. Click “Accessibility.”
  4. Click “Zoom.”
  5. Click the checkbox next to “Enable Touch Bar Zoom.”

To disable Touch Bar Zoom, follow the steps listed above, and deselect the checkbox.

Note: Touch Bar Zoom is not available while VoiceOver is running, due to conflicting gestures.

How to Use Touch Bar Zoom

To show the Touch Bar on screen, hold one finger on the Touch Bar. Note: Simply tapping it will not work.

If the version of the Touch Bar shown on screen is either too small or too large, you can adjust the zoom level. This is done by holding down the command key, and performing the pinch to zoom gesture on the Touch Bar. Just as it does on iOS, bringing the two fingers closer together (pinching) will zoom out, and spreading the fingers apart will zoom in.

How to Select Items

Holding one finger on the Touch Bar will show it on screen. Then, slide your finger to the item you wish to select. The circle surrounding it on screen will change color, and then you can lift your finger. Alternatively, you may split-tap items to select them. To do this, touch and hold an icon you wish to select, then tap the Touch Bar once with another finger.

Conclusion

When the new Macs were just rumors, we were concerned that low vision users would be left out in the cold. However, we really should have known better. Regardless of what accessibility features a user needs, the Touch Bar is completely accessible. We wish Touch Bar Zoom would work with VoiceOver, but we believe this is a great start. We cannot wait to get our hands on the new MacBooks!

Featured image from iMore

VoiceOver at the Bar

image of MacBook Pro 2016 from iMore.com

This week Apple introduced all new MacBook Pro laptops with an AMOLED Touch Bar, which replaces the function keys. Although this changes how users work with the Mac, the Touch Bar allows quick access to tools and controls that may be difficult to find. Not only does the Touch Bar do all of this while keeping standard functionality, but it is completely accessible for all users! Here is how it works with VoiceOver.

How does the Touch Bar work?

The Touch Bar stretches across the top of your keyboard, where the function row would have been located. Items appear based on which app is open. At the right side of the Touch Bar, you will find an all new Touch ID sensor that doubles as a power button for the computer.

Enable and Disable VoiceOver

Without function keys to rely on, Apple had to change some VoiceOver commands. For example, to enable and disable VoiceOver on the new MacBooks, hold the command key and tap the Touch ID sensor three times. This may seem familiar, because it’s similar to how iOS users toggle accessibility features.

Using the Touch Bar with VoiceOver

If you’ve ever used VoiceOver on an iPhone, iPad, or Apple Watch, you will feel right at home using the Touch Bar on the new MacBooks. VoiceOver will read out any item under your finger, or you can flick left or right to move through elements. Then, simply double tap to activate an option.

Using Traditional VoiceOver Function Key Commands

If you miss your traditional function keys, do not worry. You can still get to them. When the function key is held down, the Touch Bar reverts to a row of function keys for you to select. However, VoiceOver commands that rely on function keys are easily performed by holding down the function key with the keystroke you usually use. The only difference is you will use the number row as function keys. For example, VO+F2 would be Function+Control+Option+2.

Slider Controls

At this point, you may wonder how you’ll adjust controls, such as brightness or volume. Never fear, Apple has you covered once again. To use a slider control, setVoiceOver focus to the slider, and double tap and hold until you hear three rising tones. At this point, you can move your finger left or right to adjust the value. Once you are done, simply remove your finger to set the value. Alternatively, VoiceOver users can adjust system volume using the keyboard. Press Control+Option+- to lower system volume, or Control+Option+= to raise it.

The VoiceOver Cursor

VoiceOver provides a visual cursor to show what is selected. When working on a Mac that has the new Touch Bar, you will have two VoiceOver cursors. One is located on the Touch Bar, while the other is on screen. This means when you switch from using the keyboard to using the Touch Bar, you will not lose your place.

Conclusion

Yes, Apple’s new Touch Bar allows for quick access to controls and other items, but it is not just for sighted users. Apple’s commitment to accessibility has been clearly demonstrated in the usability of the Touch Bar for everyone, including those who rely on VoiceOver. So, if you were concerned about the usefulness of the Touch Bar, we hope this information puts you at ease!

Quick Tip: How To Enable VoiceOver Using The Touch Bar

image of MacBook Pro 2016 from iMore.com

The MacBook Pro’s new Touch Bar has changed the way users interact with their Macs. The Touch bar removes the traditional row of function keys for a customizable touch bar that can have different options based on which app is active. While this changes the way we use the Mac it still allows for VoiceOver users to still be productive users of the MacBook Pro. While the function keys are changed on this machine, you can still enable VoiceOver with a similar method to the iPhone. Here is how it works.

Enable/Disable VoiceOver with Touch ID

  1. Hold the Command Key
  2. While holding Command, tap the Touch ID sensor or the Power button three times

This method is a very simple way to enable and disable VoiceOver on the Mac which closely resembles how iPhone and iPad users enable and disable accessibility features.

#iACast 24 – Silence!!! I Kill the Internet!

A map showing that much of Friday's Internet outage was over the US.

Thanks for checking out the #IACast. This episode was recorded on Tuesday, October 25, 2016, and uploaded on Wednesday, October 26, 2016. Let’s get right down to what happened this week!

Like our show? Let us know by tweeting using the hashtag #IACast, and of course share our podcast with friends! Thank you for listening!

How To Prevent Attacks and be a Good Internet Citizen

A map showing that much of Friday's Internet outage was over the US.

On Friday October 20, 2016, much of the popular websites of the internet went down thanks to an attack that used millions of Internet of Things devices to hit servers that kept internet websites going. Internet of Things devices are common devices that we keep in our homes, and can include TVs, lightbulbs, DVRs, routers, and even refrigerators. Many Internet of Things devices have a security hole in their software that lets hackers gain control of these devices and use them to harm other websites and services on the net. The good news is that there is a way that you can close this hole and make it where the attacker can’t gain access to your devices, and your home can’t be used as a tool for these activities. While we directly aren’t the attacker, we still must take efforts to make the internet a better place, and be good citizens of the net.

Block the Attack

The best way to make sure that you do not contribute to the problem is to make sure your equipment is not open to others to login. If this your router is open then a hacker can login and find your equipment and use it to send data to another website. This is called a Distributed Denial of Service attack also known as DDoS. The targeted website gets so much traffic that their site and services are forced to shut down, and it is our devices that they see that are causing the issue, and the hacker gets away without anyone knowing who they are.

The process of fixing this issue differs for each router, but the best thing to do is either get help from a trained network professional or to do the following steps yourself.

  1. Go to Google
  2. Search for, “Disabling port 22 on (Your router name here)”
  3. Complete the requested steps, and also change the user name and password for your router to something other than admin and password

These basic steps will go a long way in protecting your network from unauthorized access, and it will help keep hackers from taking down their targets, because the tools they use will not be available to them.

To learn more about this attack, visit Gizmodo – This is why half the internet shut down today

#iACast 23 – Hello Again

Apple invite for its Hello Again event.

Thank you for checking out #IACast, episode 23! In this episode, we discuss the following:

Love our podcast? Please share it with friends! Thank you!

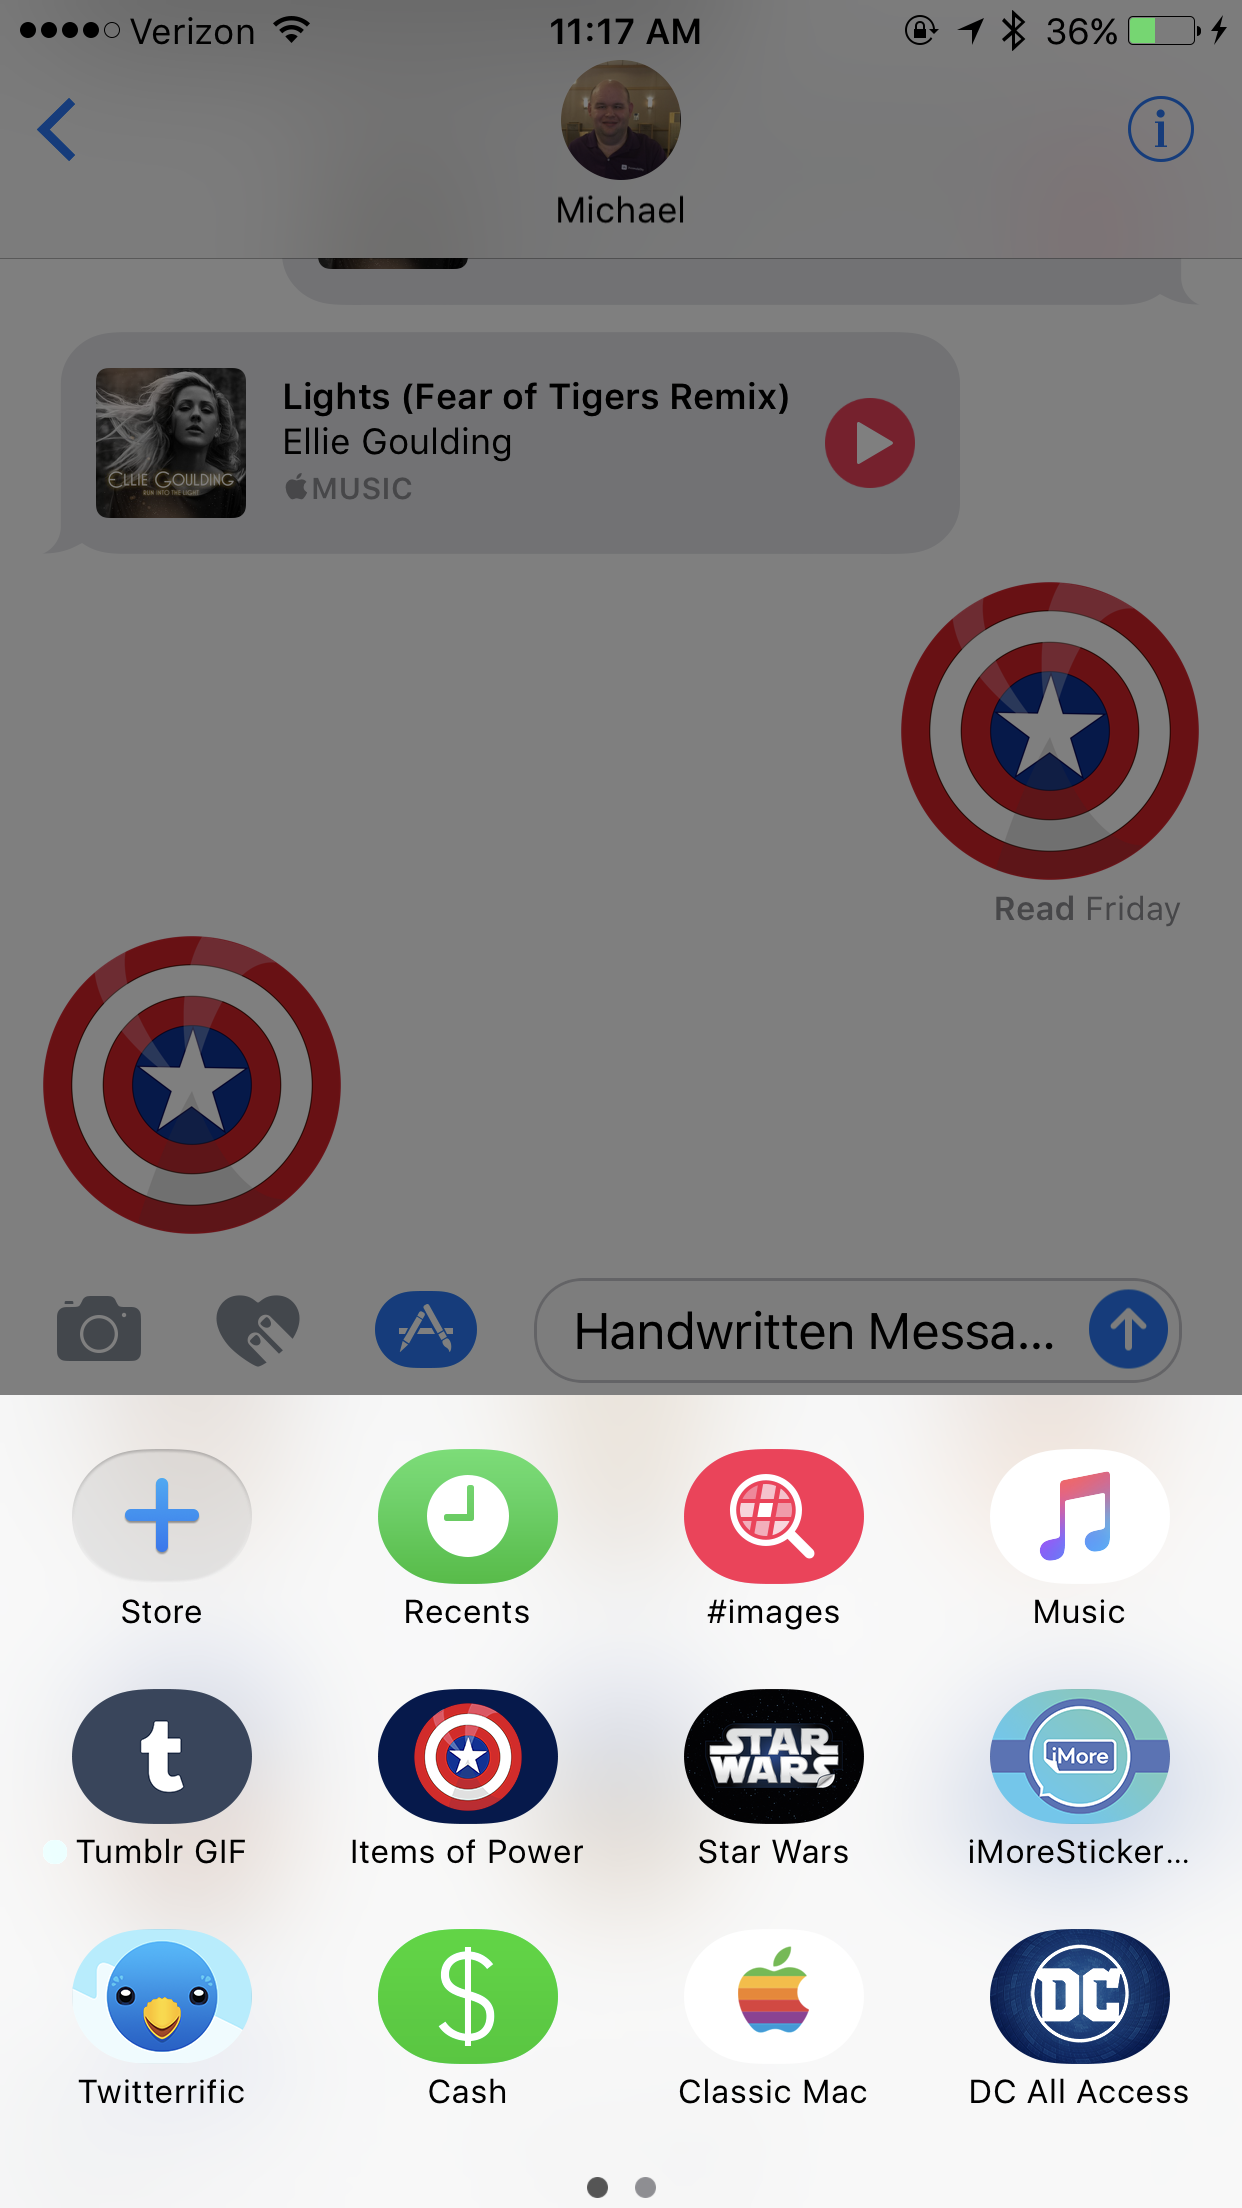
Quick Tip: Disable iMessage Image Search in #iOS10

Image showing iMessage Sticker Packs, and iMessage apps.

In hopes of making conversations more interactive and personal, Apple added many new features to iMessage in iOS 10. One such feature, the ability to search for images, may not be suitable for all users. Although Apple constantly filters results, there is a chance that inappropriate images may come up in a search. So, how does a parent, for example, protect their children from such images? It turns out that the process of disabling this feature is not complicated at all; we will show you how below.

Note: Although this guide refers to disabling Image Search, it also applies to enabling or disabling any iMessage app.

To disable iMessage Image Search:

  1. In the Messages app, tap on a conversation thread.
  2. If the keyboard is shown, tap the “Show More” button directly to the left of the edit field.
  3. Tap the “Messaging Apps” button directly to the left of the edit field.
  4. If it is not already shown, tap the “App Browser” button in the bottom left corner of your screen.
  5. Tap the “Store” button.
  6. There will be three tabs across the top of your screen. Tap the third one, which is “Manage.”
  7. Tap the switch next to “#images” to toggle it off.
  8. Tap “Done” in the top right of your screen to return to the app browser.

That’s it! We hope this tip helps give you some peace of mind when using iMessage in iOS 10, or if nothing else, to declutter your iMessage app browser. Enjoy!

Quick Tip: Share Apps From the Home Screen

Image showing VO Change app icon with Share 3D Touch Item.

Have you ever wished there was a faster and easier way to share apps with your friends without going to the app store and searching for it? iOS 10 brings you the ability of sharing apps with your friends directly from the home screen.

Here is how it’s done.

  1. Find the app you want to share and 3D touch on it.
  2. Tap the share app button at the end of the list.
  3. The share sheet will appear and you will be able to choose the option you want.

This is a much faster way to share apps. You wont have to spend time looking around in the app store looking for an app you want to share. For people that have phones without 3D touch, or have 3D touch turned off, you will have to go to the app store to share apps.

This feature is only available to devices that support 3D Touch, so you will only have access to this on newer iPhones running iOS 10.

Online Training: A New Service from iAccessibility

iAccessibility Logo

iAccessibility is proud to announce that we are now offering online training for those looking to increase their technology knowledge.

Our trainers can teach students in many different areas of technology, from iOS to Windows and even  the Mac.

Our training pricing is $18 per hour, and we use Skype for trainers to reach their students.

Please fill out our sign up form if you are interested in our new and exciting training program.

Back to Top